How to Photograph the Fur Rondy Fireworks 2020
First of all, when is the Fireworks Extravaganza?
- Date: Friday, February 28,2020
- Time: 7:30 pm
- Location: Ship Creek Small Boat Launch
- http://www.furrondy.net/events/at-t-fireworks-extravaganza
Download a PDF copy of this tutorial here: Download PDF
Fur Rondy begins soon and that means the Fireworks Extravaganza! The Rondy Fireworks are usually the best pyrotechnics display of the year. The show is always great and the location provides for a lot of opportunities to photograph them.
Photography offers many ways to capture any subject and fireworks are no different. I’m going to provide some tips for folks new to photographing fireworks. Hopefully you’ll have fun and wind up with a few photos you really like.
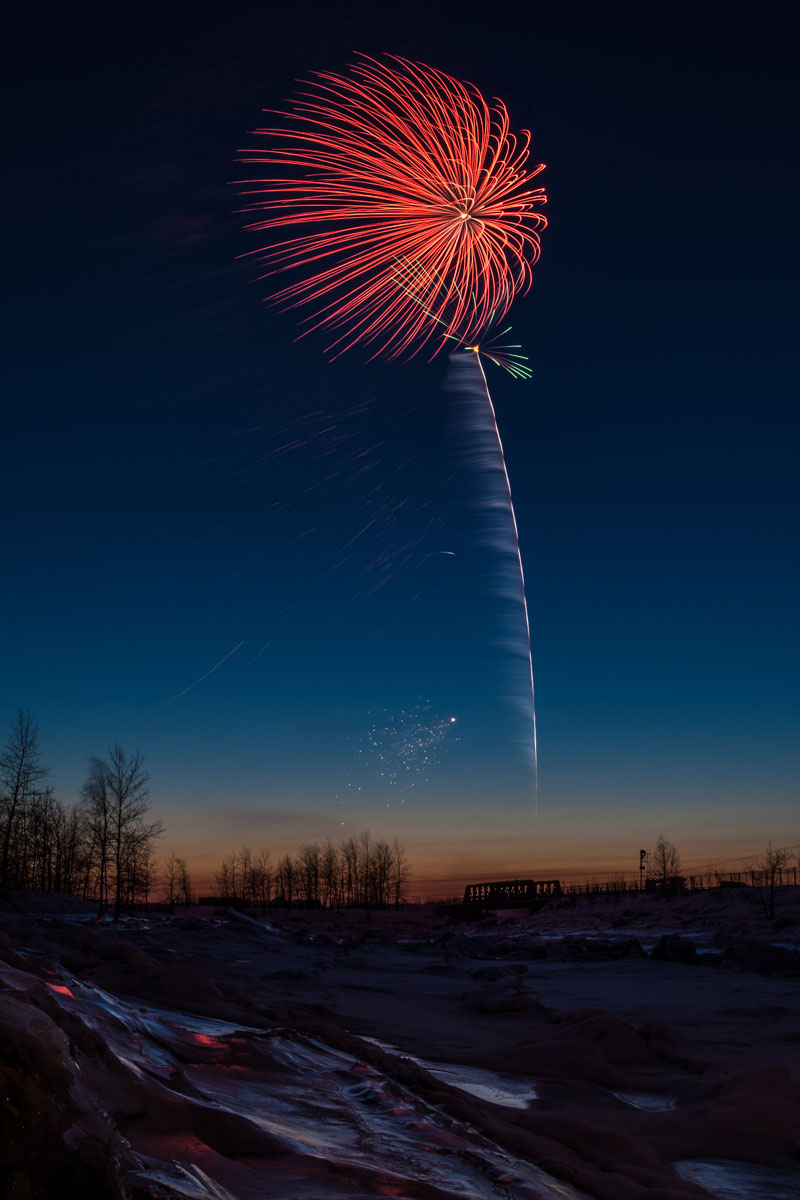
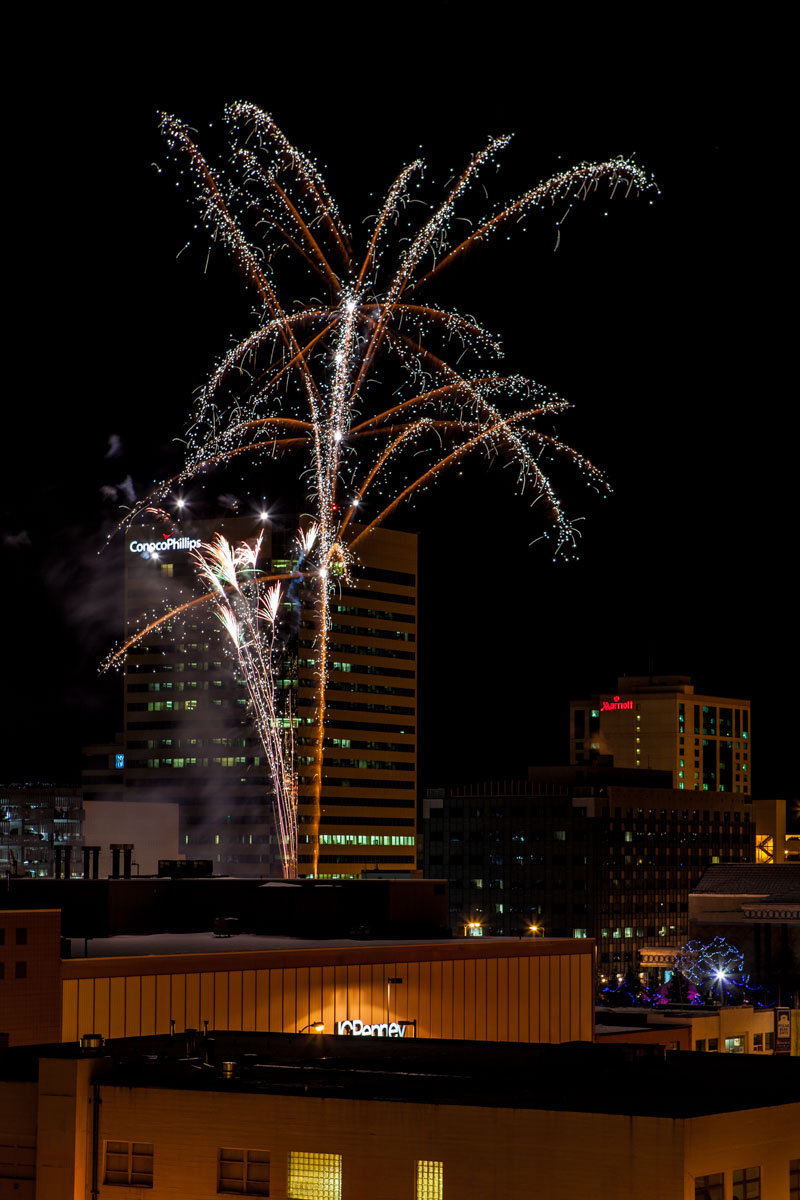
Quick Tips
Before I jump into the details here are a few quick tips
- Shoot using the highest quality file you can; full sized raw or large-fine jpg.
- Set the camera to a low ISO, such as 100 to 200.
- A good starting point for aperture is f/8.
- Set the shutter speed to 4 seconds to start
- Use a tripod.
- Manually focus the lens at infinity. Turn off the autofocus.
- Use a cable release or wireless remote to trigger the shutter if you have one.
Equipment
Camera. The good news here is that almost any digital camera will work for photographing fireworks. Cameras that provide the option of shooting in the manual exposure mode make it easier to control the results. DSLRs, mirrorless, and many point-and-shoot models offer this option. If your camera doesn’t, check to see if it has any of the following modes: fireworks, night landscape, mountain, or landscape.
Lenses. If your camera allows you to use different lenses consider bringing both a wide angle and a telephoto. They\’ll give you very different looks. You may be surprised which approach you like better. Practice changing the lenses in the dark so you can do it quickly.
Tripod. This may be the most important thing to use if you hope to get crisp photos. You’ll be using slow shutter settings, anywhere from 1 to 10 seconds. The camera needs to be perfectly still while shooting or you’ll get blurry photos. The best way to keep the camera still is with a tripod.
Remote Release. Another item that aids considerably in keeping the camera still is a remote. These are used to trip the shutter without physically touching the camera. Even on the best tripods it is possible to cause camera shake when you press the shutter button. Depending on the make and model of your camera the remote may be wireless or wired. It may be an accessory that comes with the camera or something you need to purchase separately.
2 Second Count Down Timer. Many models of cameras have a built-in timer that offers a 2-second mode. This is ideal if you don’t have a remote. In this mode the shutter opens two seconds after you press the button. This is more than enough time for the camera to stop moving as a result of the shutter being pressed.
A flashlight. Almost always you’ll need to make some adjustment to your camera or equipment after it gets dark. It’s a lot easier to do this with a small flashlight or headlamp.
Warm clothing. This is for you, not your camera. Most cameras can function normally well below 0F. This isn\’t always the case for people. You may wind up standing around out in the cold for more than an hour. Dress to stay warm!
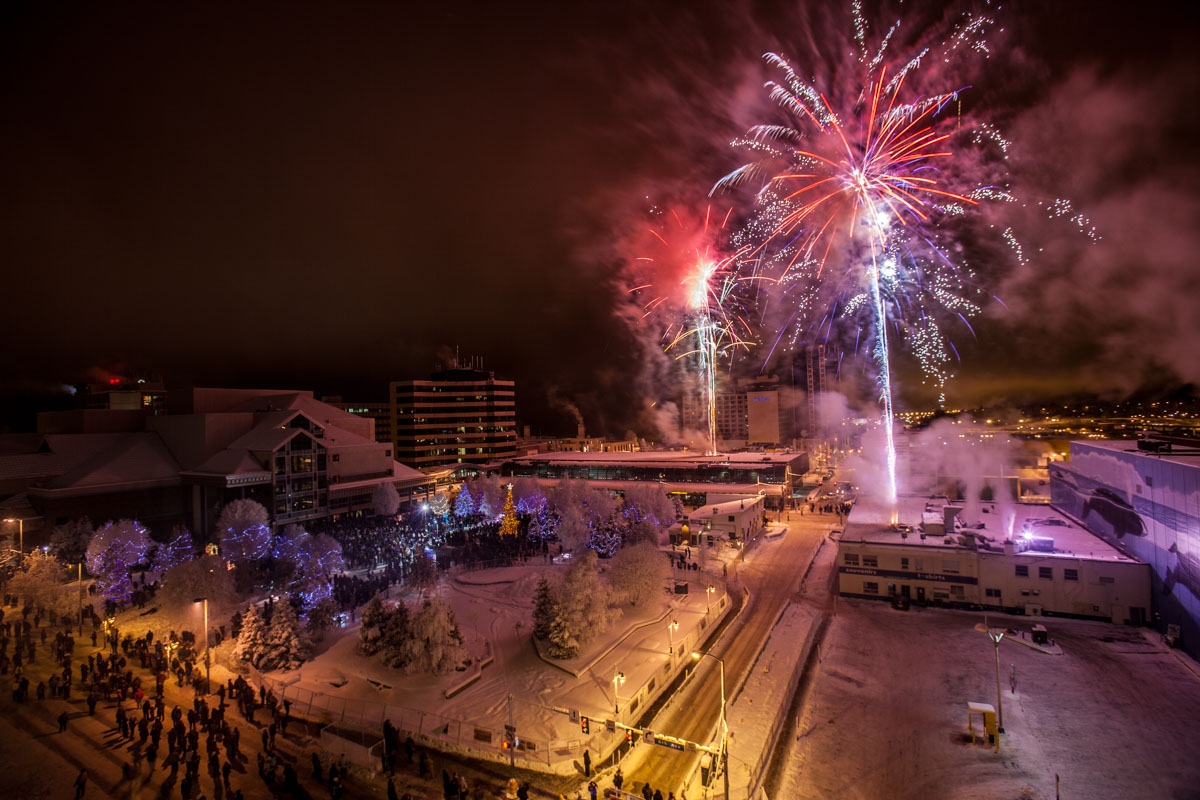
Location, location, location
Scope out the location you have in mind as early as you can.
Take note of where fireworks are being set up and what parts of the sky they are likely to be shot into. The Fur Rondy website, to include the map feature, is not super helpful in letting you know the actual firing location. Over the past 10 years or so they’ve launched from the side of the road just past the bridge over Ship Creek on the way to the ramp (Location 2 on the map below). On occasion they have also fired from very near the Small Boat Ramp on Ship Creek (Location 1 on the map below).
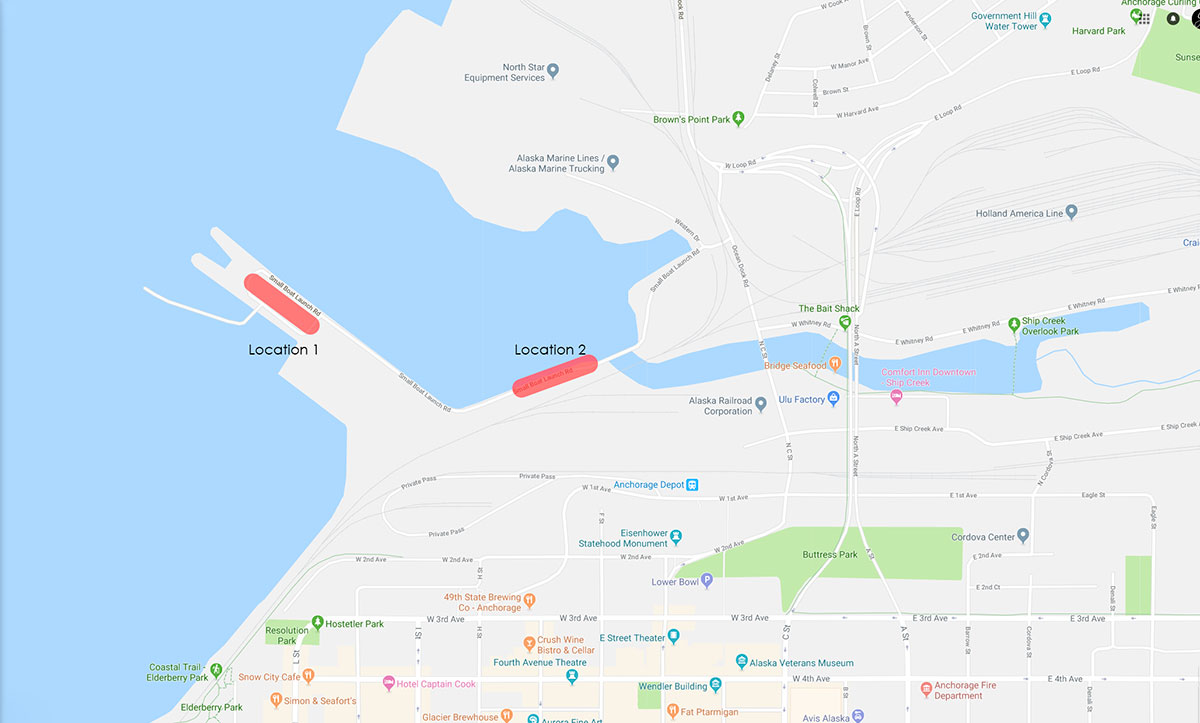
Find an unobstructed view and a place where you’ll be reasonably comfortable waiting. You may, or may not, want people to appear in your photographs. Find a spot that works for what you have in mind.
Consider vantage points that surround the Ship Creek area. One of my favorite is along the banks of Ship Creek itself. The sidewalk on the A Street bridge provides a great vantage point. The north side of the Fur Rondy Midway also looks down on the launch area. A few years ago we got some great shots from the Fifth Avenue Mall parking garage using a long lens. If you’re up for a long drive Port MacKenzie at the end of Knik Goosebay Road had a perspective that put the city behind the display.
Look for interesting objects for both the foreground and the background for the display. Fireworks are often more interesting when reference points are included both in front and behind them. Consider things like trees, buildings, bridges, and monuments.
Then, get to the spot you select early. Even in a small city like Anchorage there will be lots of photographers vying for the best locations.
Set up your camera
Make as many of the following settings as possible. If your camera doesn’t give you the option, just skip it.
File Size. Use a large file size. Set your camera to create large-fine jpgs or full sized raw files of your photos. The photo files will be larger but that gives you more to work with when cropping and editing your results.
ISO. Set your ISO to something like 100 or 200. The lower your ISO setting the better. Your camera creates cleaner (noise free) images at lower ISO settings. This works great since we plan on using longer shutter settings anyway.
Turn OFF long exposure noise reduction. This feature is good at reducing digital noise in your photos. The drawback is that it reduces the speed with which you can take the next shot. The delay between exposures is equal to the duration of the last shot.
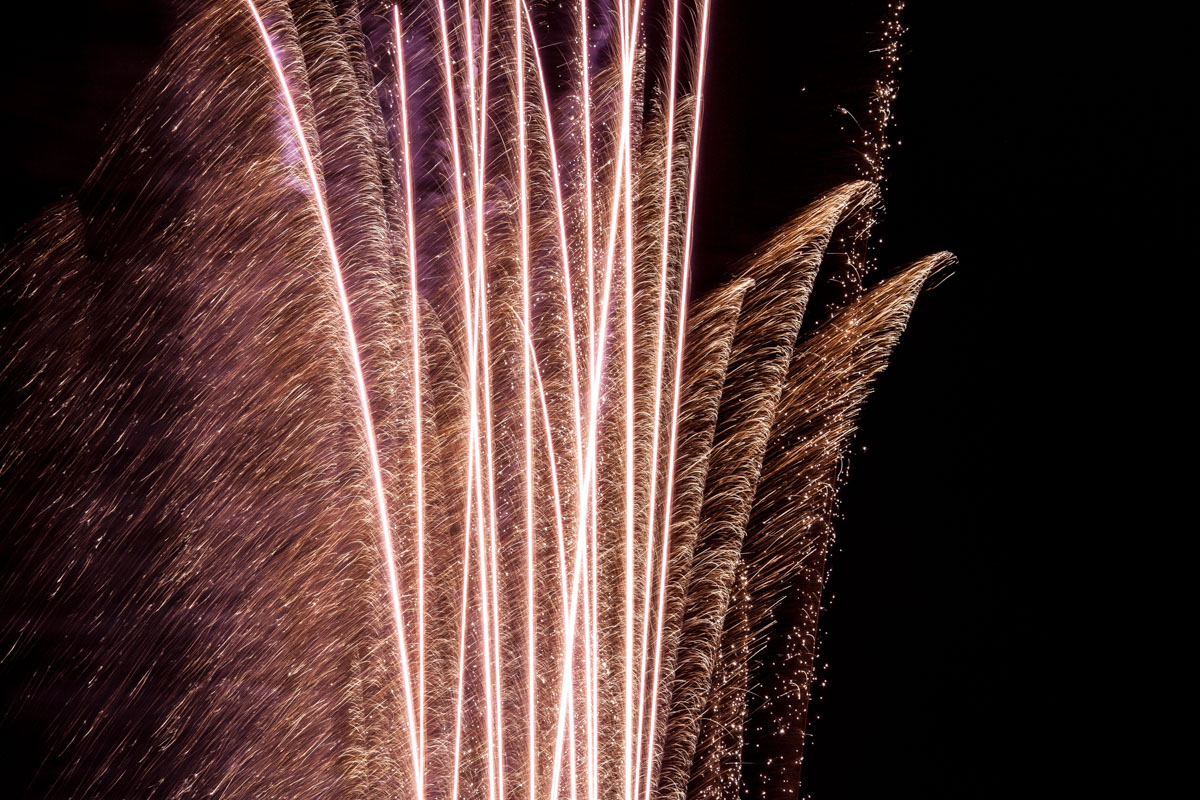
Switch off your Flash. Firing your flash will have no effect on your photos unless there are objects close to the camera you want to illuminate. Your camera’s flash typically only reaches a few yards. On some models of camera having the flash fire results in unexpected image results. And this will irritate anyone around you – be considerate.
Shoot in Manual Mode. You will most often get the best results shooting in manual exposure mode (setting the ISO, shutter, and aperture yourself). If your camera does not offer this option use a setting like fireworks, night landscape, landscape, or mountain.
Aperture. Use a setting someplace between f/5.6 and f/11. You are typically going to be several hundred feet from the display. Typically the aperture is used to control depth of field in your images. In the case of fireworks it is a good way to control how dark the sky will appear.
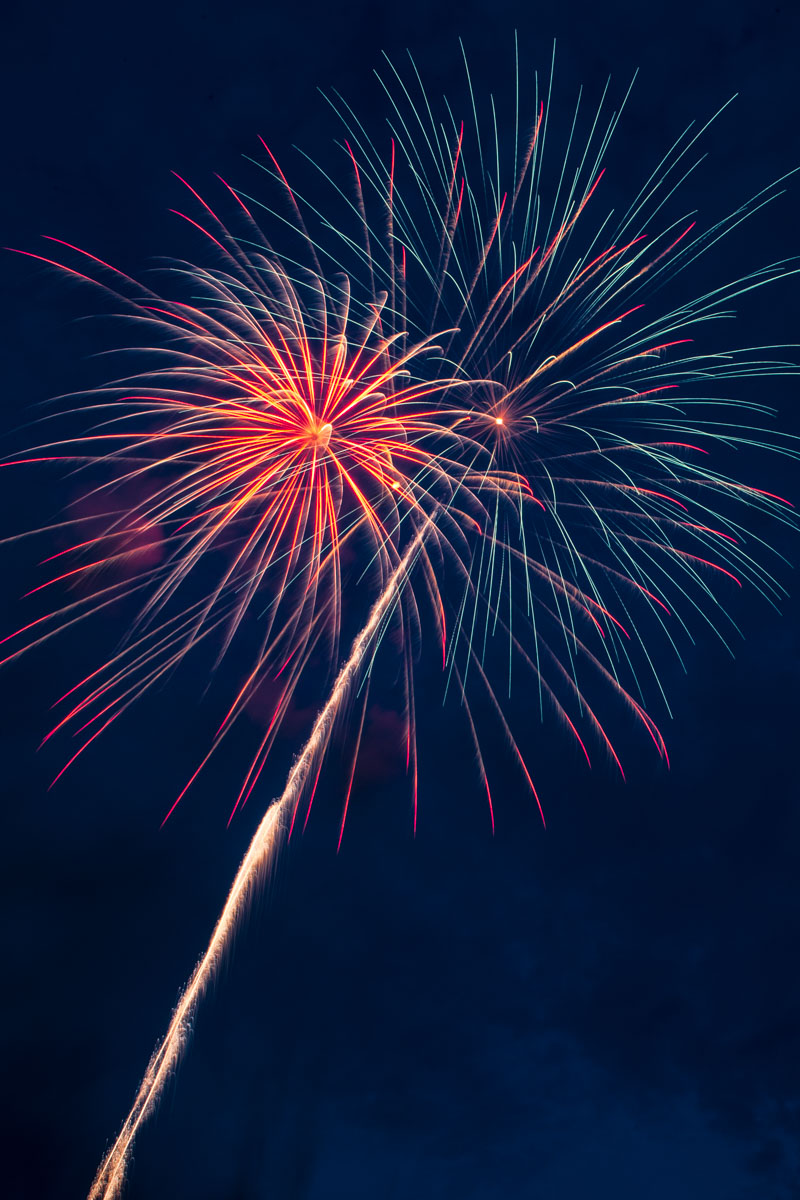
Shutter speed. I suggest you start with a shutter speed somewhere between 2 and 6 seconds. Once the show starts play with the length of the shutter to control how much of the bursts you are getting. Experiment with longer and shorter settings.
Test shot. Once you have your initial settings dialed in take a test shot. If the sky is too bright or dark adjust the aperture. Use the shutter speed to control how the blooms look.
Framing Your Shot
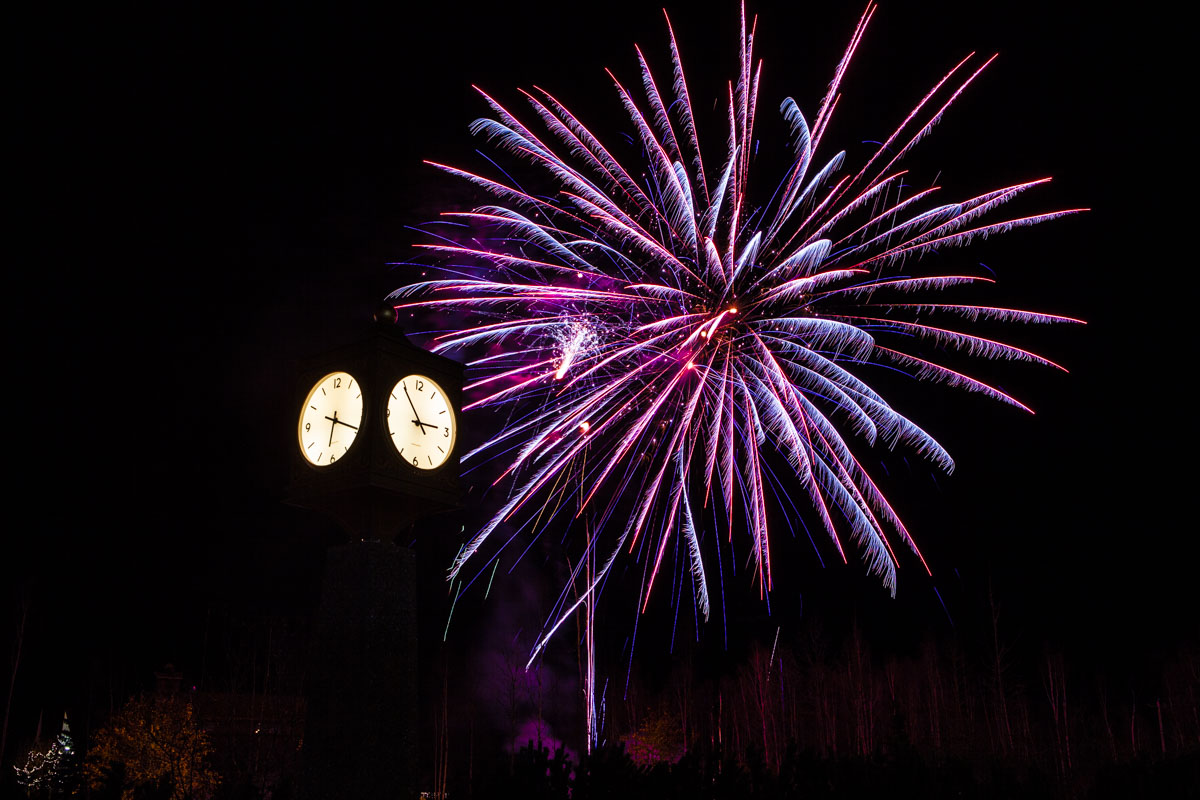
Where to point your camera is probably the most difficult part of photographing fireworks. You are setting up to photograph something that isn’t there yet….and may not be exactly where you anticipate. Here are a few points on getting your framing right.
Frame your shot vertically. This is also called portrait orientation. This is often a good way to get started because the displays are typically taller than they are wide and their motion is vertical.
Look through the viewfinder to get a feel for how much of the sky you have in the shot. Zoom in or out as appropriate. Try and remember what this looks like. It is often easier to photograph fireworks by watching the sky directly (not through the viewfinder). Having an idea of what part of the sky is in the shot and observe that area. This also helps with timing and deciding if you need to adjust the camera’s view.
Allow room in the frame (viewfinder) to anticipate the height of the opened bursts. You may need to adjust once things get started. Pay attention to what you’re getting during the first few shots. Adjust as necessary. There is a fair amount of trial and error involved in the process.
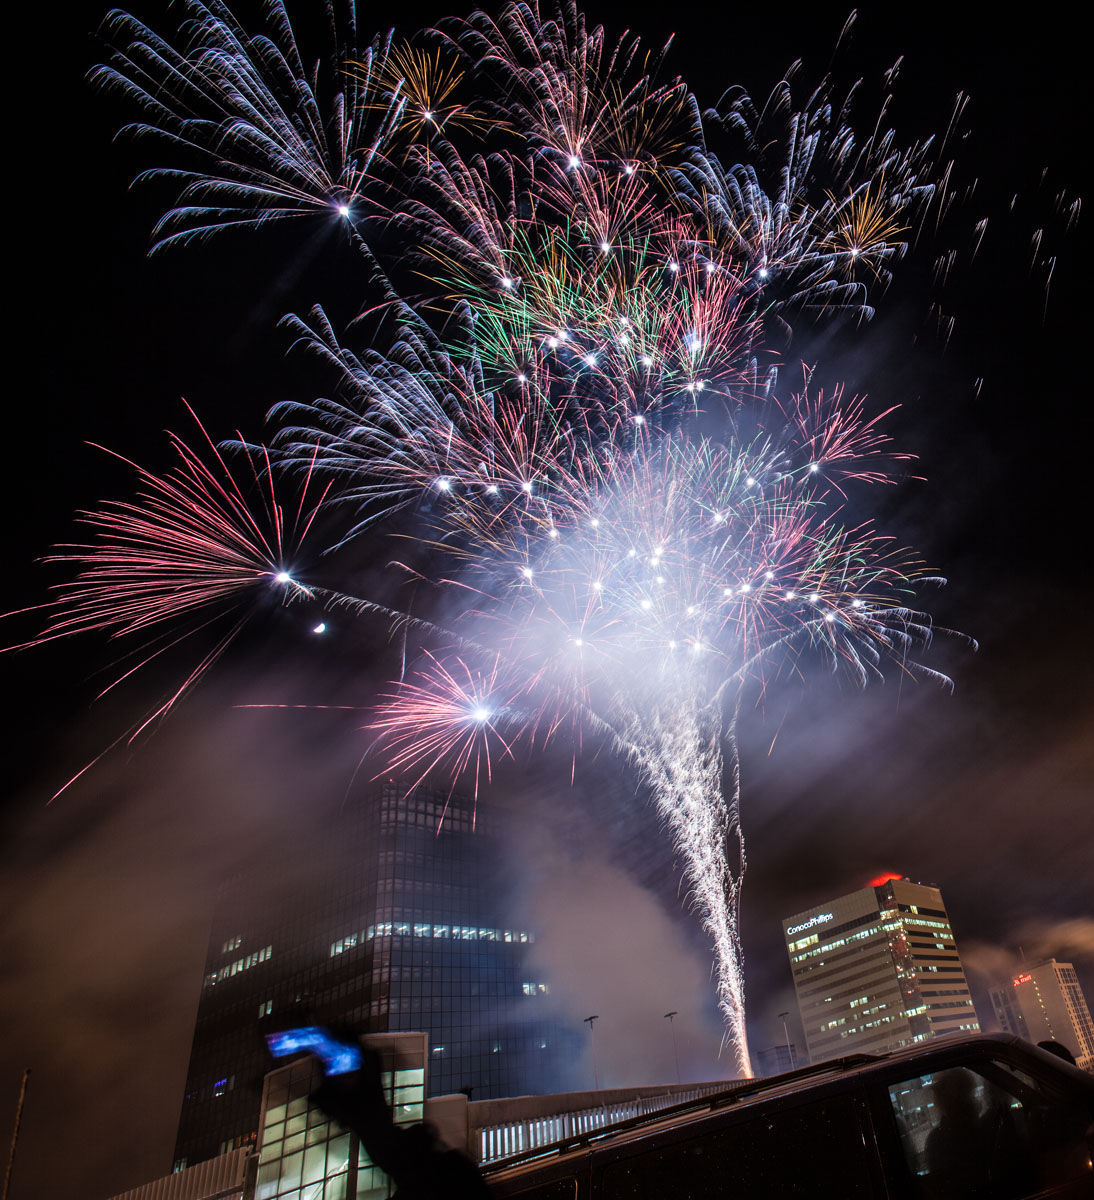
Experiment with framing that includes a wider perspective, silhouettes and maybe even the people around you.
Focusing
Auto focusing in low light can be very difficult for many cameras. It might not autofocus at all or take a long time. Either way you’ll likely to end up missing a lot of shots. Once your focusing is set you’ll find you don’t really need to change it during the fireworks display – especially if you’re using a small aperture which increases depth of field. Keep in mind that changing focal lengths (zooming in or out) may mean you need to need to adjust your focusing. Some lenses will keep the focus in place as you zoom in or out, some won\’t. Experiment ahead of time if you\’re not sure.
This is a key step. Your camera’s auto-focusing system will almost certainly work against you when photographing fireworks. None of the conditions needed for it to work effectively are present at night. As a result, during the fireworks display your camera will struggle to achieve focus resulting in out of focus images or an inability to focus at all.
There are several strategies for overcoming this.
Focus the camera manually. You’ll need to turn off or disable the auto‑focus mode and adjust the focus yourself. Old school and effective.
While it is still daylight focus on, or near, the point from which the fireworks will be launched. Turn off the auto-focus.
If you arrive after dark, or bump the camera out of focus, find a bright object about the same distance as the launch area. Focus on that and then turn off the auto-focus.
Take a test shot and review it. While in the playback mode zoom into the image and check the focus. If it’s not focused properly keep trying until the test shot is sharp.
Timing
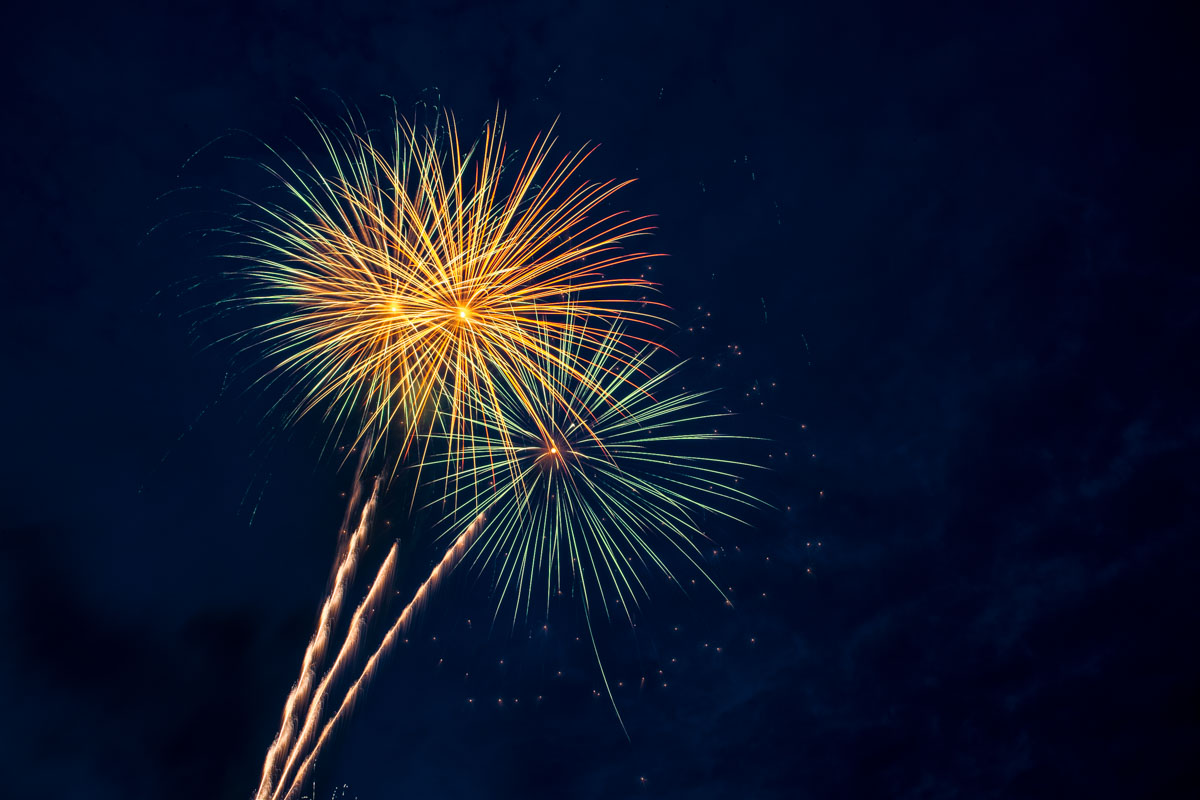
It takes a bit of practice to time your shots when you hear the fireworks being released, so ideally you capture a few bursts. Do some testing to see how many bursts is just right for your taste. Try some with more, and some with less. Having too many may overexpose the overall image, so keep that in mind.
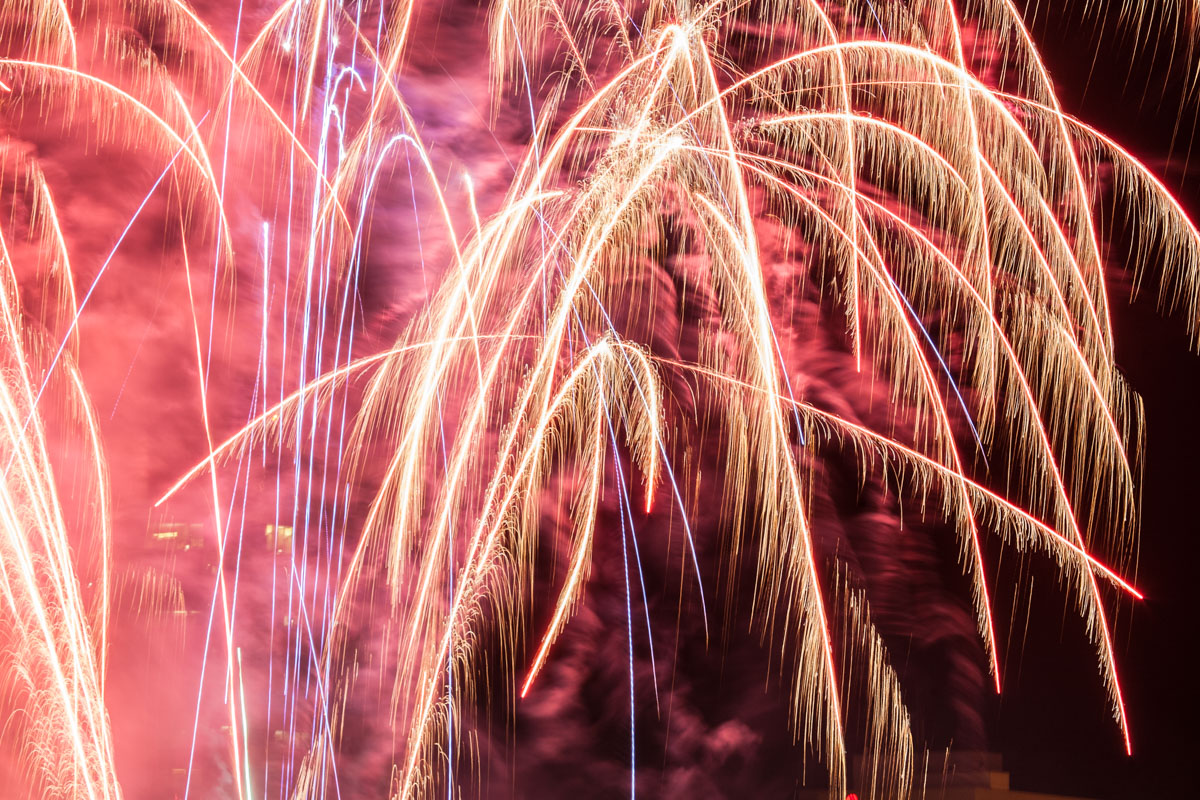
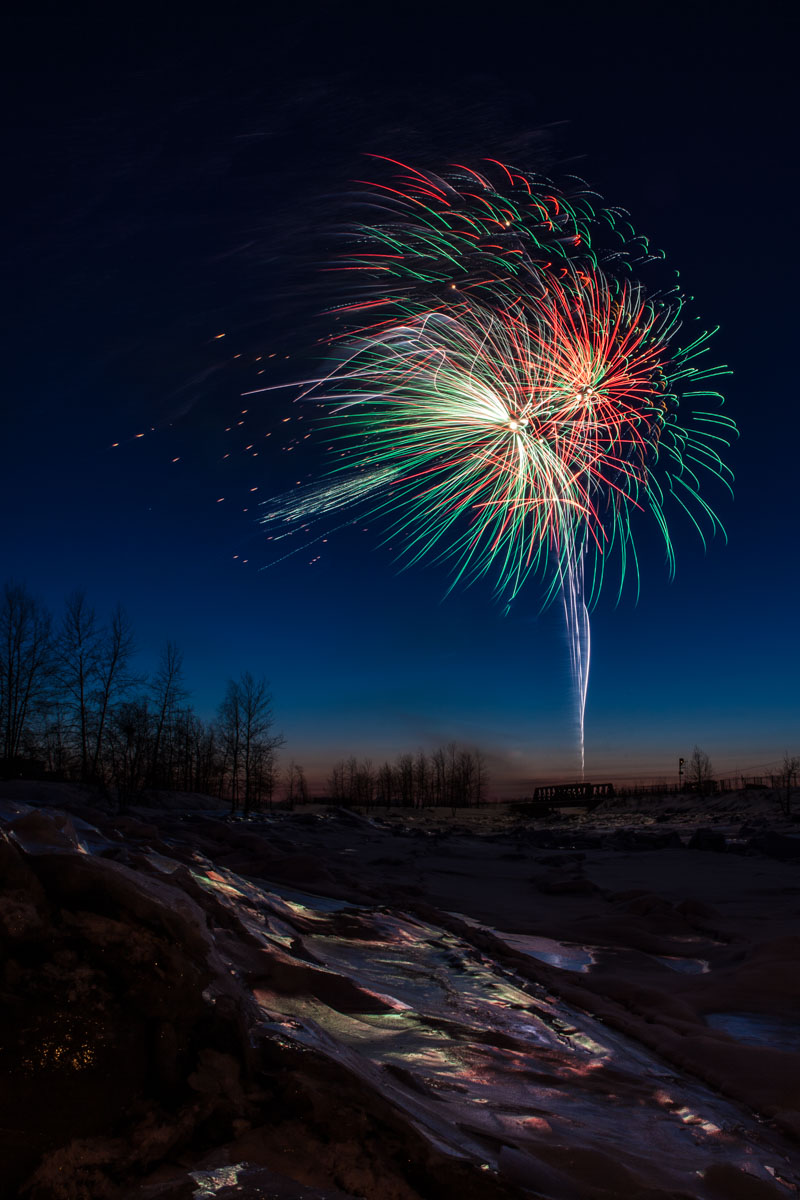
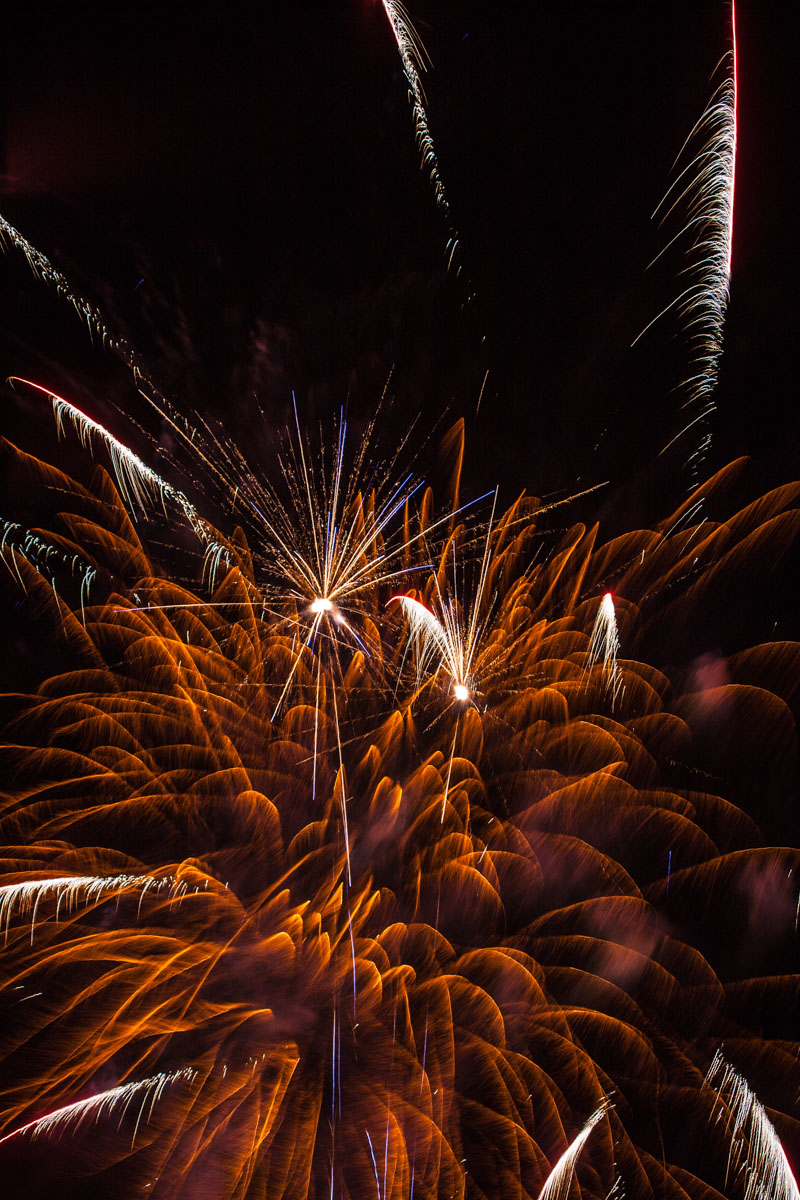
Shoot most of your shots at the start of the show to avoid the smoke/haze that appears a bit later. Eventually the sky will be filled with smoke and it’s not as pretty looking. That’s when I’ll try some close ups or abstracts.
Check your Results
During the show check your results every now and then. Take a few shots when you’re first getting started and confirm they’re what you have in mind. Avoid checking too often, you’ll miss things.
Fight the Cold!
During Rondy the temperatures are likely to be well below freezing, plan your wardrobe accordingly.
Don’t breathe on your camera if possible. In the cold this can cause condensation on the lens and controls. Freezing condensation on the lens can cause blurring or obscuring of the image. If it gets really cold ice begins to build up.
Bring a big plastic bag, or something airtight. When you’re done shooting it is likely that your camera will have been outside for quite a while. Before you take your camera into a heated space (like the car or a building), put it in the bag. This will prevent moisture from condensing on and in your camera. Once the camera warms back up you can open the bag and take it out.
Summary
The best thing I can tell you is to experiment with your settings to get the look you want. Use the settings I mentioned as a starting point, adapt to your situation and experiment. Have fun and stay warm!
